

Processing skin biopsies
Created 2008.
Learning objectives
- Describe the preparation of a skin specimen for histopathology
- Explain potential errors in pathological diagnosis
Indications for skin biopsy
Skin biopsies are taken for the following reasons:
- To make or confirm a clinical diagnosis
- To remove a skin lesion
- To determine whether margins of excision are adequate
- Research
The specimen is sent to a surgical pathology (histology) laboratory to make or confirm a clinical diagnosis and determine whether margins of excision are adequate.
Skin biopsy specimens
Specimens of skin removed for pathological examination may of the following types:
| Skin biopsy | Specimen may contain epidermis, dermis and/or subcutaneous tissue |
| Excision biopsy | A skin lesion is completely cut out for diagnosis and treatment |
| Incisional biopsy | A segment of the lesion is removed for diagnosis only |
| Shave / tangential biopsy | A horizontal section of the skin is removed for diagnosis or treatment |
| Punch biopsy | A standard round specimen 2-6 mm in diameter for diagnosis |
| Curettings | Fragments of tissue are removed using a spoon-shaped bone curette for treatment |
| Fine Needle Aspiration | A needle is inserted into the lesion and cells are aspirated for direct examination (usually to confirm suspected metastases). |
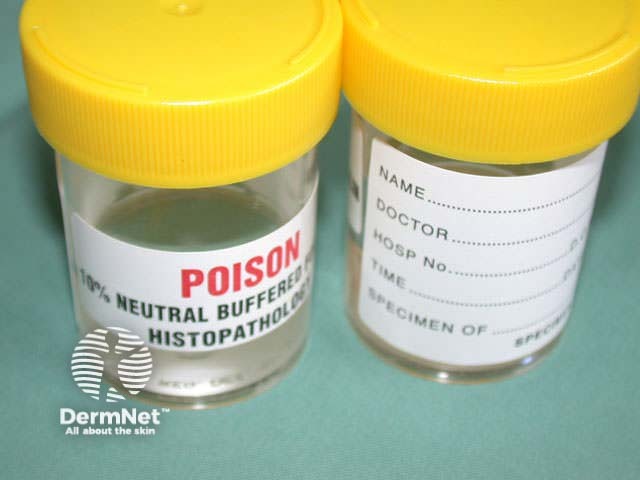
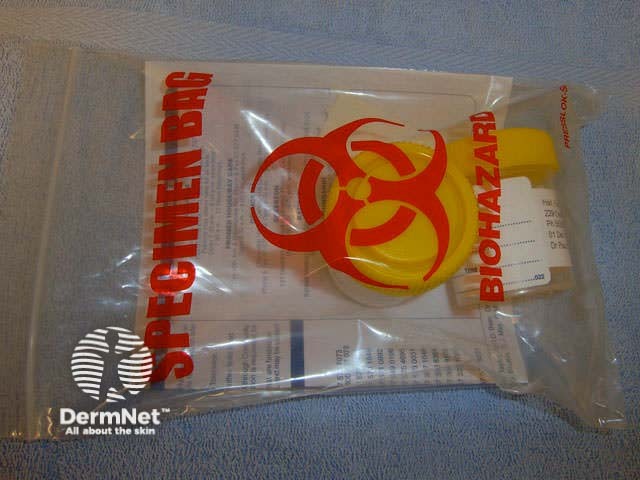
The sample should be placed in fixative (usually 10% neutral buffered formalin); the volume should be at least ten times that of the tissue. Make sure the pot is properly sealed. Label it with the patient's full name and a second identifier (date of birth and/or National Health Index number), the site of the biopsy and the date.
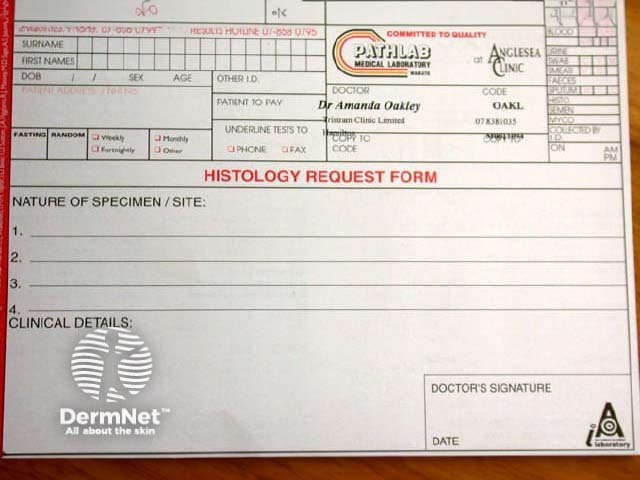
Complete a surgical pathology request form to include patient details including age and sex, a description of the specimen type, exact site of the biopsy, and clinical details including as a minimum the suspected diagnosis, differential diagnosis and brief clinical history, including duration of the lesion and any treatment applied.
Biopsy requirements
In the laboratory
Fixation
The purpose of fixation is to preserve the skin specimen indefinitely in a life-like state. For normal histological sections, the specimen of skin is immediately placed in formol saline. It remains in this preservative for a minimum of 24 hours prior to processing by a histotechnologist.
Formalin fixes the issue by forming cross-links between lysine residues in the proteins, which does not alter their structure. It is buffered with phosphate to prevent acidity provoked by tissue hypoxia, maintaining a pH of 7. It penetrates effectively into the tissue but rather slowly, depending on its thickness; tissues can be fixed faster if they are warmed.
If no fixative is available at the time of biopsy, the specimen should be kept moist with saline and transported to the laboratory as soon as possible, contacting the lab in advance to confirm that there will be someone available to receive it.
Tissue processing
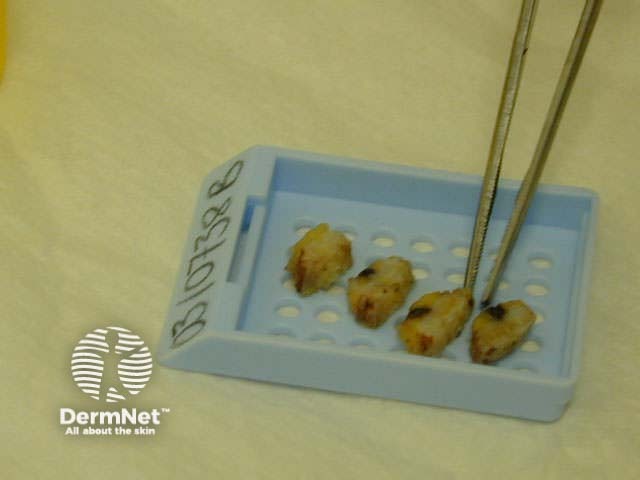
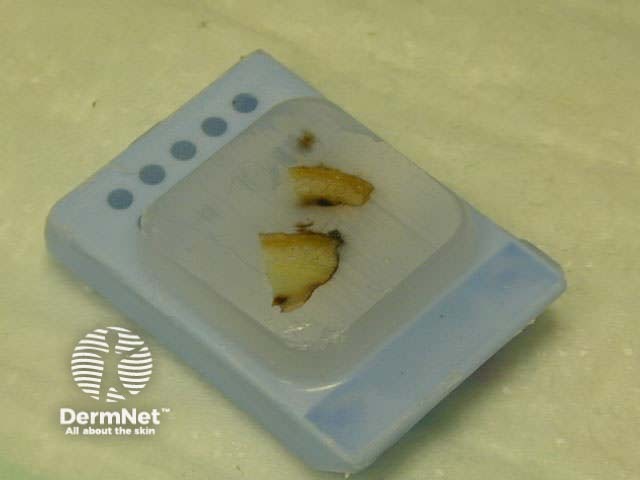
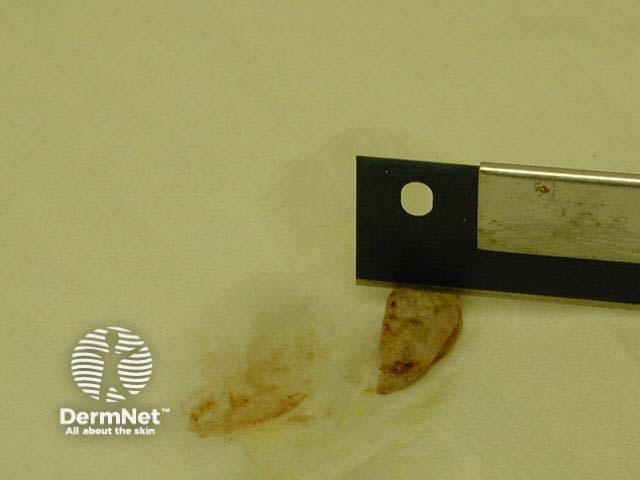
The technologist assigns the specimen a unique accession number, examines it and describes the gross appearance of the specimen. If malignancy is suspected, the edges of the specimen may be marked with ink to identify excision margins. All or parts of the specimen are placed into one or more small plastic cassettes which hold and identify the tissue while it is being processed, and which acts as the backing for the final paraffin block. Initially, the cassettes are placed into a fixative.
Paraffin blocks are then prepared to allow the tissue to be cut into thin microscopic sections (3-5 microns). Using an automated processor, the water is removed from the tissue by alcohol dehydration. The alcohol is cleared using xylene and then the tissue is ready to be embedded in paraffin wax. The technician removes the tissue from its cassette, aligns it carefully in a mould and pours hot paraffin wax over it. As the wax cools, it solidifies to form the block ready for sectioning.
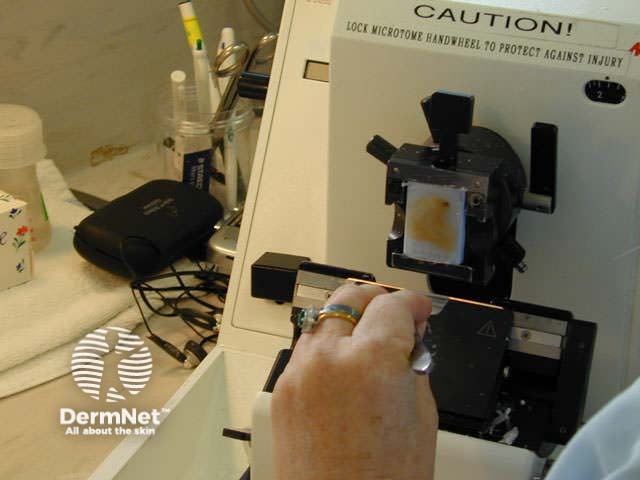
Sectioning
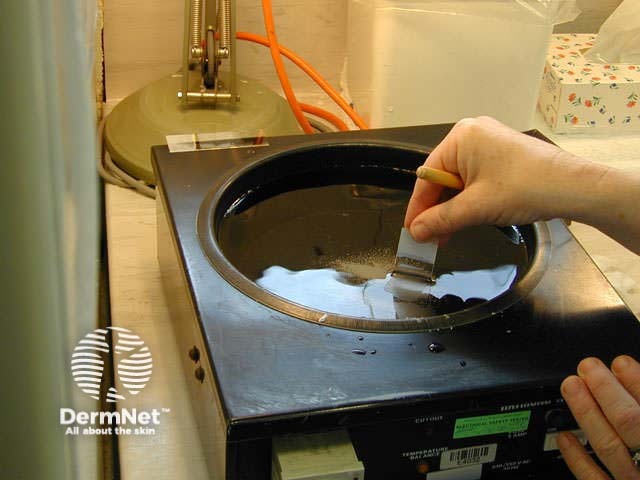
The embedded tissue is cut into sections using a microtome, which moves the block across a very sharp knife every 3 to 5 microns. The sections are then floated on a warm water bath, picked up on a glass microscope slide and dried in a warm oven.
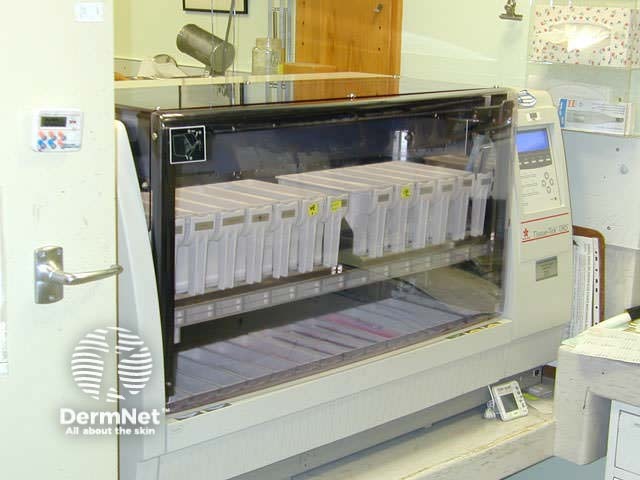
Skin specimen in the laboratory
Staining
By another automated process, the paraffin is taken out of the sections by sequentially immersing in xylene, then alcohol and then water. The slide is then stained routinely using haematoxylin and eosin (H and E). This is an automated process in larger laboratories, but some centres stain manually. In some situations, other special stains may be used.
- Haematoxylin stains include a variety of metal cations that result in varying hues (blue). It is a basic dye that stains the nucleic acids of the cell nucleus and is usually partially removed by an acid-alcohol solution.
- Eosin stains are acidic and dye cytoplasmic components of the cell red.
Mounting
The stained slide is processed again through water, alcohol and xylene. A resin is applied to glue a cover slip or plastic film in place over the section. The slide is now ready for the pathologist to examine and report the microscopic description, the diagnosis and comments.
A general histopathologist or a specialist dermatopathologist examines processed routine sections under a light microscope. In some cases special stains or other tests are required for diagnosis. A report is then issued to the referring practitioner often within 2 working days of receiving the specimen in a straightforward case.
Activity
Arrange to visit your local medical laboratory and ask to be shown the techniques described above.
References:
On DermNet:
Information for patients
Other websites:
- Florida State University WebPath Histotechniques – Anatomy histology tutorials
Books about skin diseases:
See the DermNet bookstore